Install API Logic Server
Install in Docker or Locally
You can install API Logic Server locally using pip, using Docker, or pythonanywhere (a cloud service).
You can also develop with Docker devcontainers.
Create an install directory
You can create this anywhere, such as your home folder or Desktop.
Then, open the appropriate section below, and see the Installation Notes, below.API Logic Server requires Python 3.11 or higher.
The first section below verifies whether your Python environment is current.
The following section explains how to install a current Python environment.
Verify Pre-reqs: Python 3.11+
Ensure you have these pre-reqs:
Note: on Macs, you may need to use
python3instead ofpython.
If you need to install Python (it can be tricky), see these notes.
Install API Logic Server in a virtual environment
Then, install API Logic Server in the usual manner:
cd ApiLogicServer                    # directory of your choice
python -m venv venv                  # may require python3 -m venv venv
source venv/bin/activate             # windows venv\Scripts\activate
python -m pip install ApiLogicServer
If you are using SqlServer, you also need to install pyodbc.
cd ApiLogicServer      # a directory of projects on local host

# Start (install if required) the API Logic Server docker container...

docker run -it --name api_logic_server --rm -p 5656:5656 -p 5002:5002 -v ${PWD}:/localhost apilogicserver/api_logic_server
This will start a command line in the Docker container at your current directory.
You are now able to issue commands like ApiLogicServer create as described in the home page. These will create API Logic Projects as directories under your current directory.
Windows: use Powershell (
PWDis not supported in Command Line)API Logic Projects are not restricted to be under the same directory.
The api_logic_server image supports startup arguments so you can control the api_logic_server container, by running a startup script or by supplying environment variables. You might, for example, have automated test procedures that load projects from GitHub and run tests.
For more information, see Working With Docker.
Already installed? Upgrade to the latest:
docker pull apilogicserver/api_logic_server(you may need to rebuild your container).
You can create an ApiLogicServer on PythonAnywhere for any cloud-accessible database. Open a bash console, and:
python3 -m venv venv  # ensures that Python3 is used
source venv/bin/activate

python3 -m pip install ApiLogicServer

ApiLogicServer create --host=ApiLogicServer.pythonanywhere.com --port=   # ApiLogicServer == your account
1. Create Application
Here is an example using a pythonanywhere-hosted MySQL database (note the escape character for the $ in the database name):
ApiLogicServer create --project_name=Chinook \
--host=ApiLogicServer.pythonanywhere.com --port= \
--db_url=mysql+pymysql://ApiLogicServer:***@ApiLogicServer.mysql.pythonanywhere-services.com/ApiLogicServer\$Chinook
2. Create and configure a web app
3. Update the wsgi
And copy the contents of /home/ApiLogicServer/api_logic_server/python_anywhere_wsgi.py over the wsgi file created by pythonanywhere.
4. Update the Admin App api_root
The first few lines of the Admin.yaml and Admin Config page should be (update the last line:
about:
  date: December 26, 2021 09:00:00
  recent_changes: altered tab captions
  version: 3.50.51
api_root: https://apilogicserver.pythonanywhere.com/api
5. Verify admin.yaml
Verify that the ui/admin.yaml ends with something like this:
In api_logic_server_run.py, set these as follows:
8. Run the application
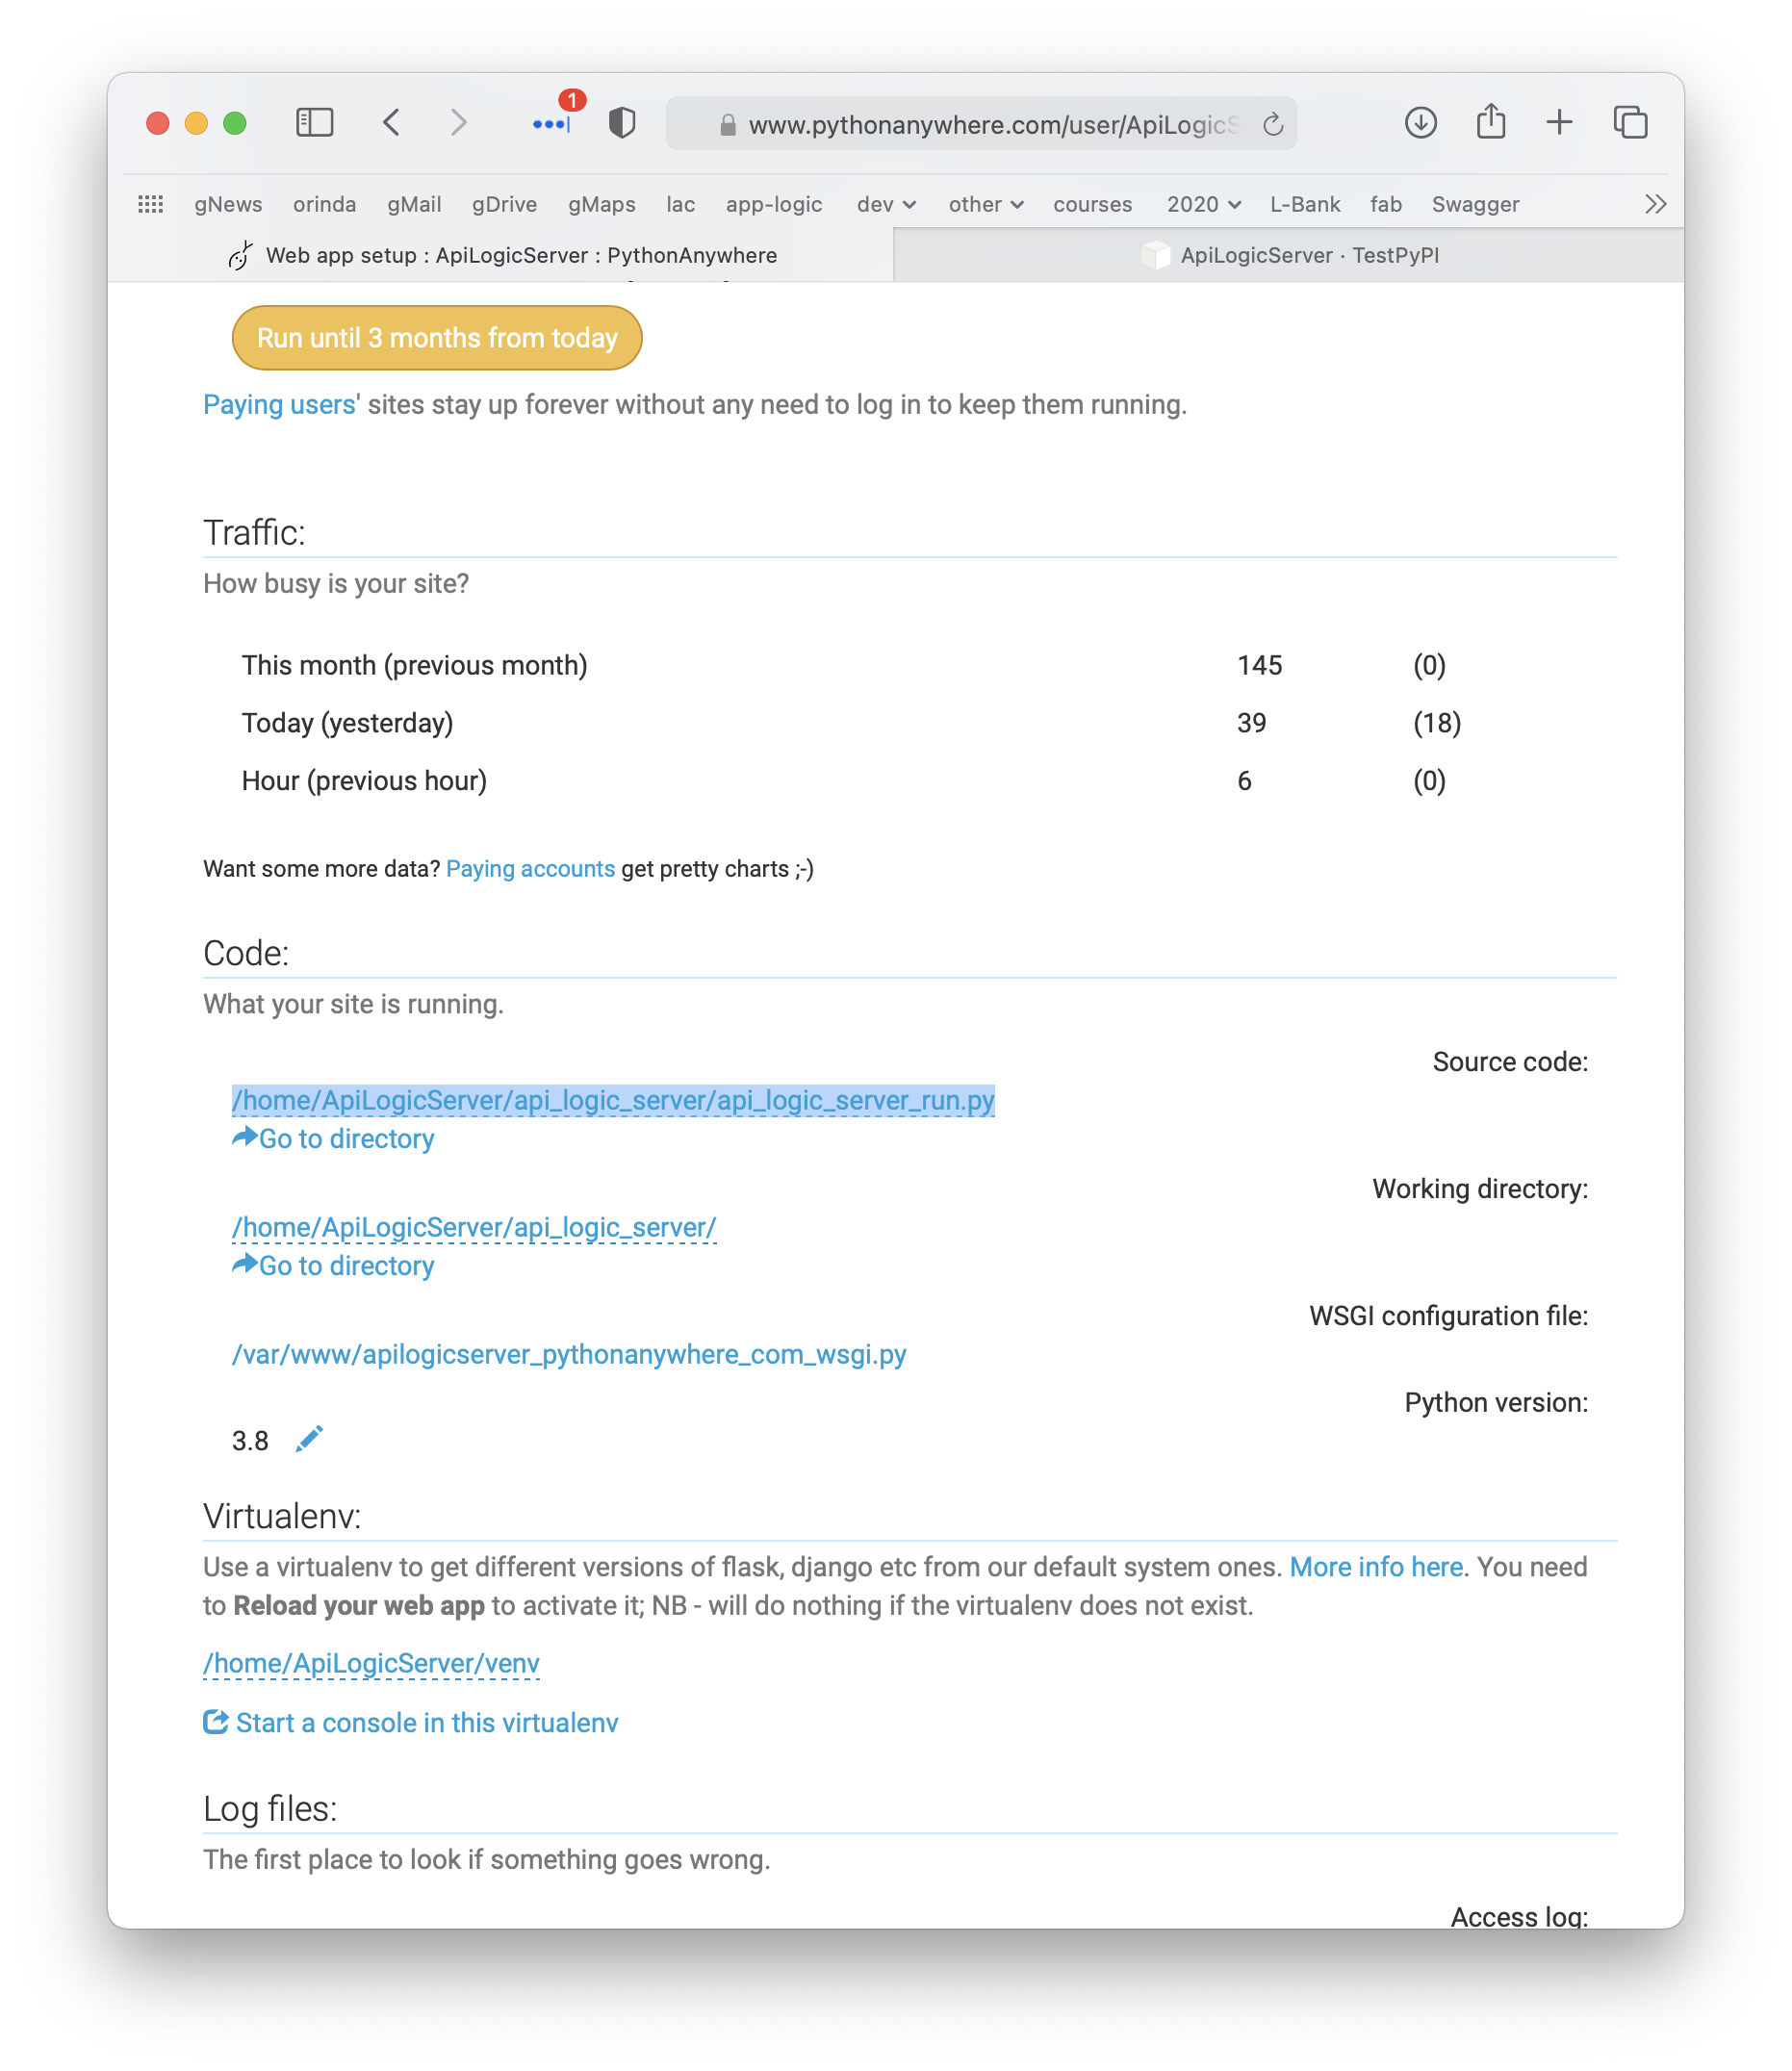
You can open the Admin App in your browser http://apilogicserver.pythonanywhere.com/admin-app/index.html.
You can use curl from pythonanywhere consoles:
curl -X GET "http://ApiLogicServer.pythonanywhere.com/api/employees/?include=office%2Cparent%2CEmployeeList%2CCustomerList&fields%5BEmployee%5D=employeeNumber%2ClastName%2CfirstName%2Cextension%2Cemail%2CofficeCode%2CreportsTo%2CjobTitle&page%5Boffset%5D=0&page%5Blimit%5D=10&sort=employeeNumber%2ClastName%2CfirstName%2Cextension%2Cemail%2CofficeCode%2CreportsTo%2CjobTitle%2Cid" -H "accept: application/vnd.api+json" -H "Content-Type: application/vnd.api+json"
Installation Notes
Alert - Project fails to start
Recent updates to included libs have broken previous versions of API Logic Server. This is fixed in a new version (5.00.06), and is strongly recommended. You can also repair broken installations as described in Troubleshooting.
Heads up - Certificate Issues
We sometimes see Python / Flask AppBuilder Certificate issues - see Troubleshooting.
Default Python version
In some cases, your computer may have multiple Python versions, such as python3. ApiLogicServer run relies on the default Python being 3.8 or higher. You can resolve this by:
* making python3 the default Python, or
* using ApiLogicServer create, and running python3 api_logic_server_run.py
Next Steps - Create a Project
Create, start and debug the sample project - see the Creating a Project.