Execute in your IDE
API Logic Projects are simply directories, without restrictions on their location. You can open them directly in your IDE. (You can also execute them from a Terminal Window).
This page describes how to open your project, establish your Python environment, and execute your project.
Open Project and Establish Python Environment
IDE instructions depend on whether you are using a local install, or Docker. Select your desired configuration below, and see how to run, customize and debug your ApiLogicProject.
Follow these instructions:
1. Open your project with VS Code
You can open the IDE yourself, or from the command line:
cd ApiLogicServer

# start VS Code either as an application, or via the command line
#    .. macOS users may require: https://code.visualstudio.com/docs/setup/mac

code ApiLogicProject  # using command line to open VS Code on project
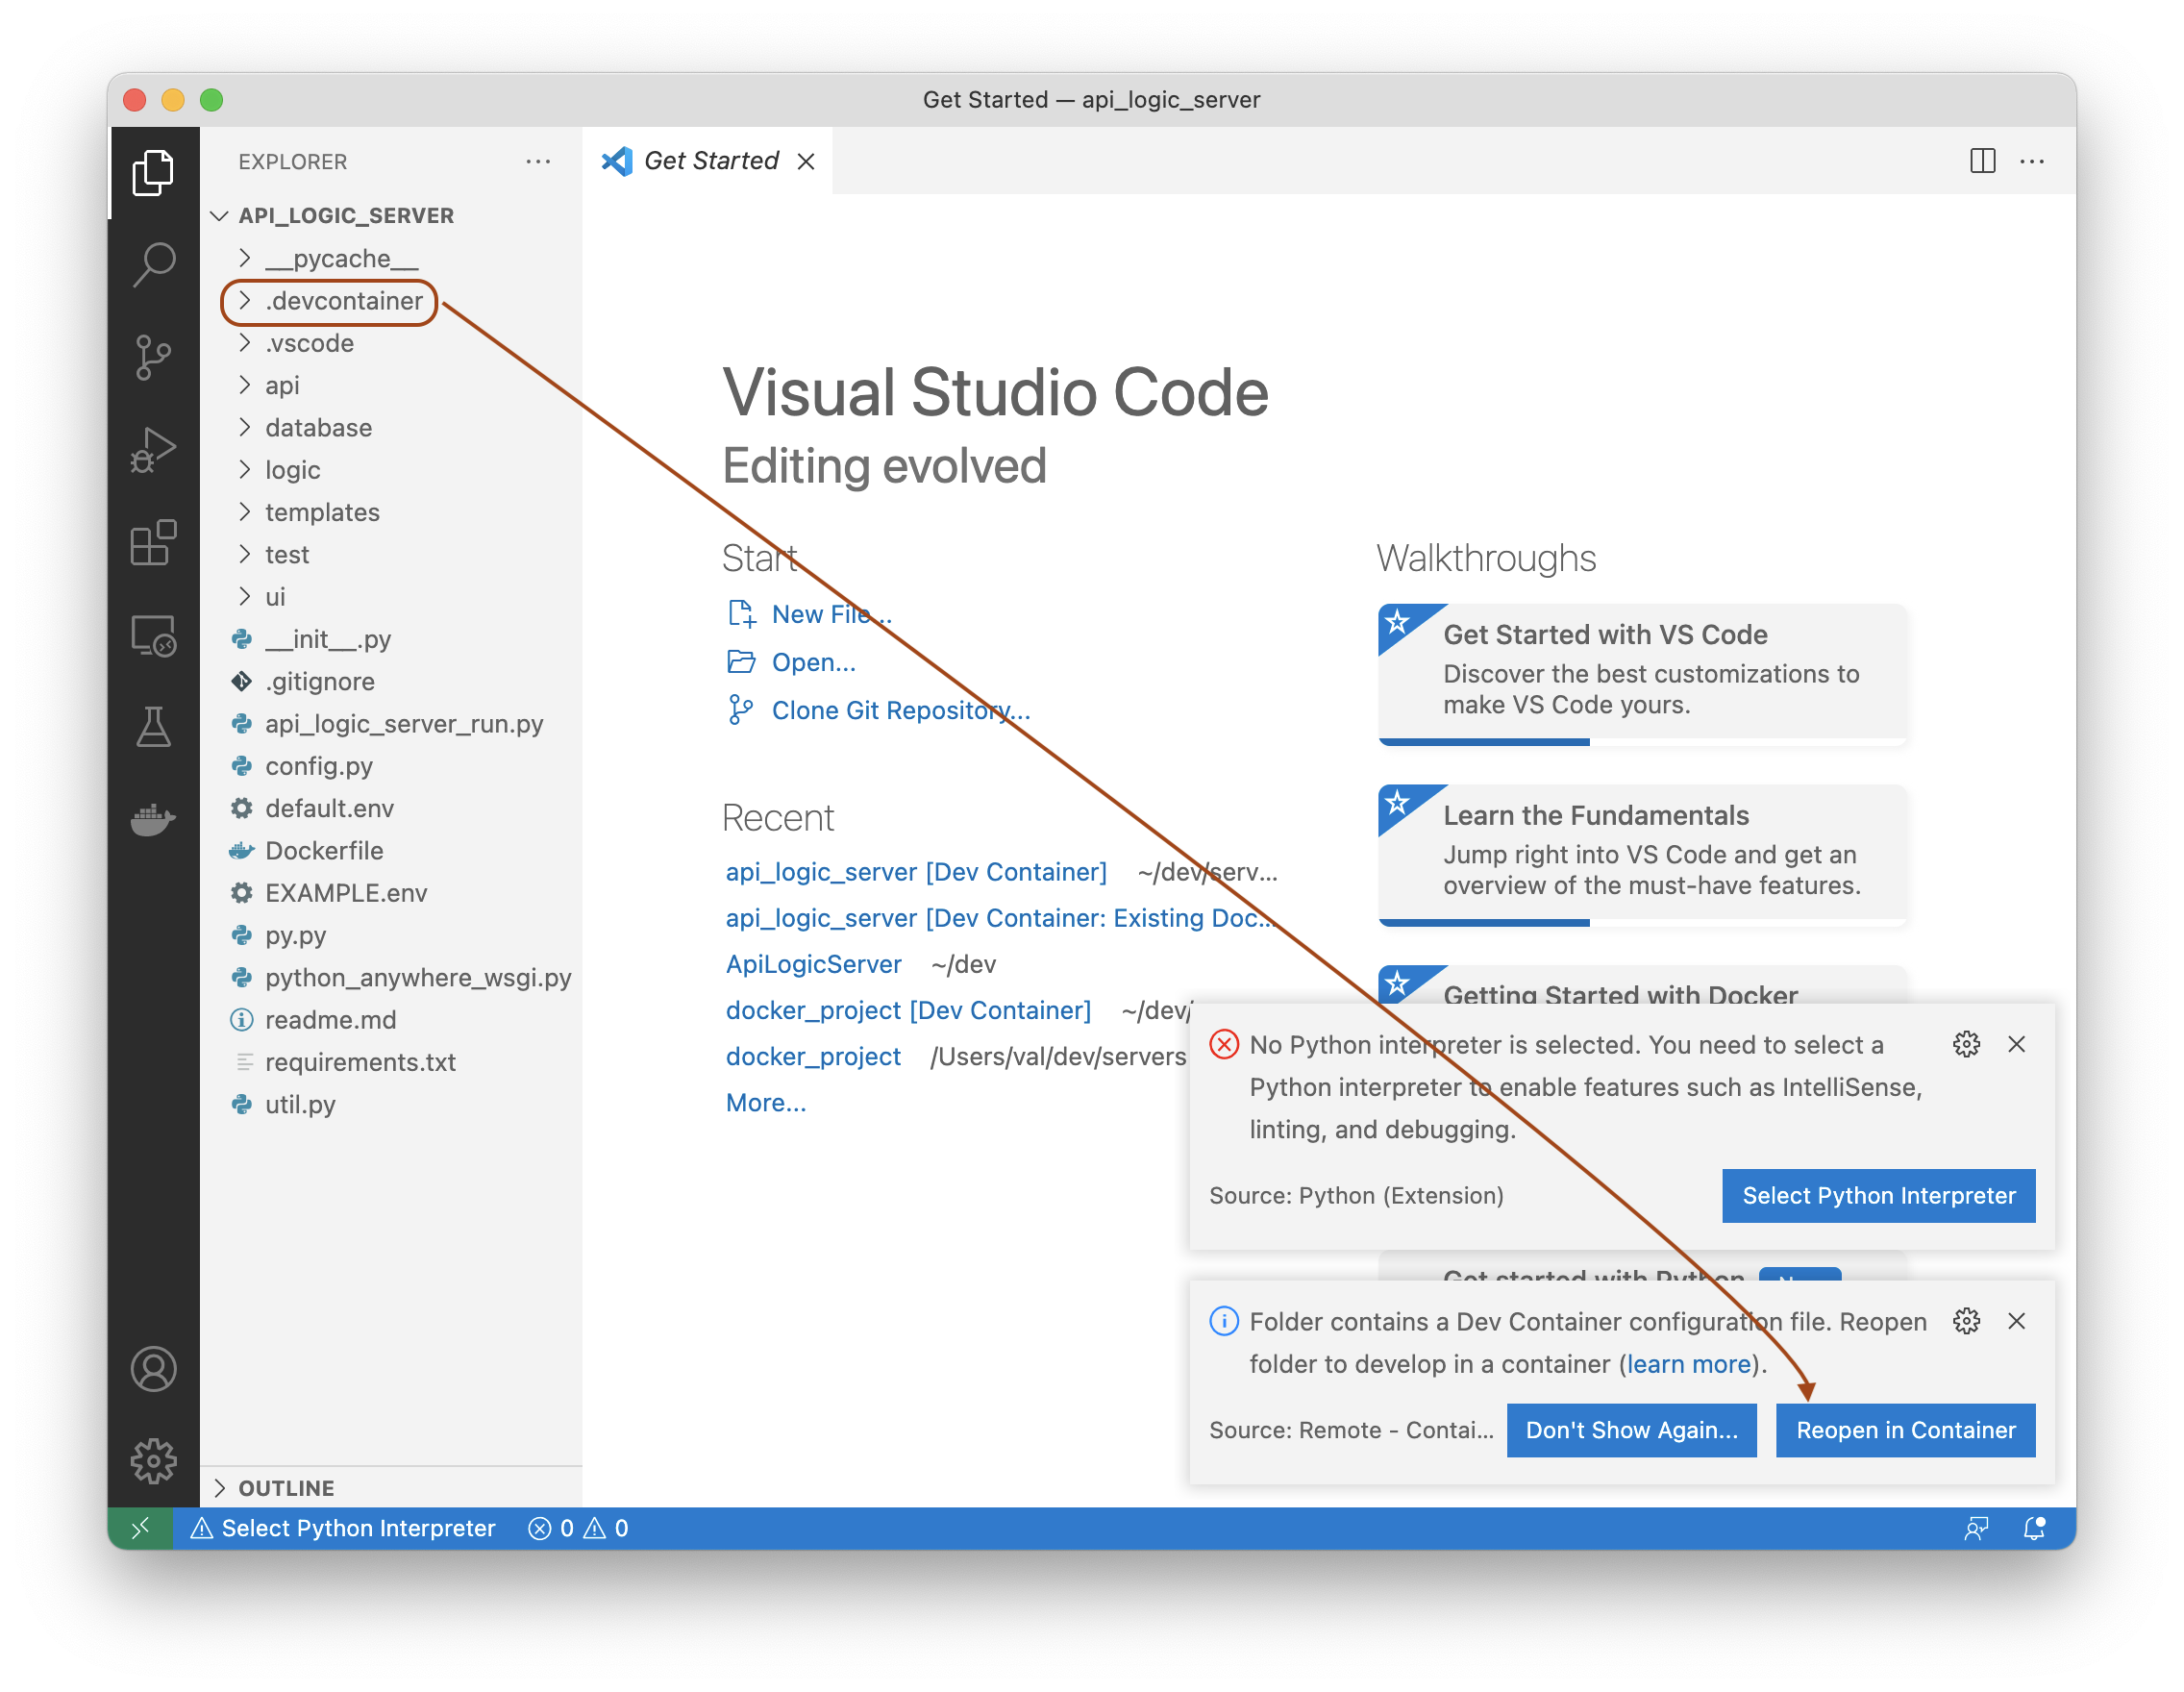
2. Remote Container - Decline
Decline the option above to use the remote-container. You can prevent this by deleting the .devcontainer folder.
3. Create Virtual Environment
You then create your virtual environment, activate it, and install the ApiLogicServer runtime.
In VS Code: Terminal > New Terminal Window, and...
python3 -m venv ./venv                       # windows: python -m venv venv
# VS Code will recognize your `venv` and ask whether to establish it as your virtual environment.  Say yes.
source venv/bin/activate                     # windows: venv\Scripts\activate
python3 -m pip install -r requirements.txt   # the requirements.txt file was pre-created by ApiLogicServer
The install sometimes fails due on machines with an older version of
pip. If you see a message suggesting you upgradepip, do so.
For more information, see Work with Environments, and Project Environment.
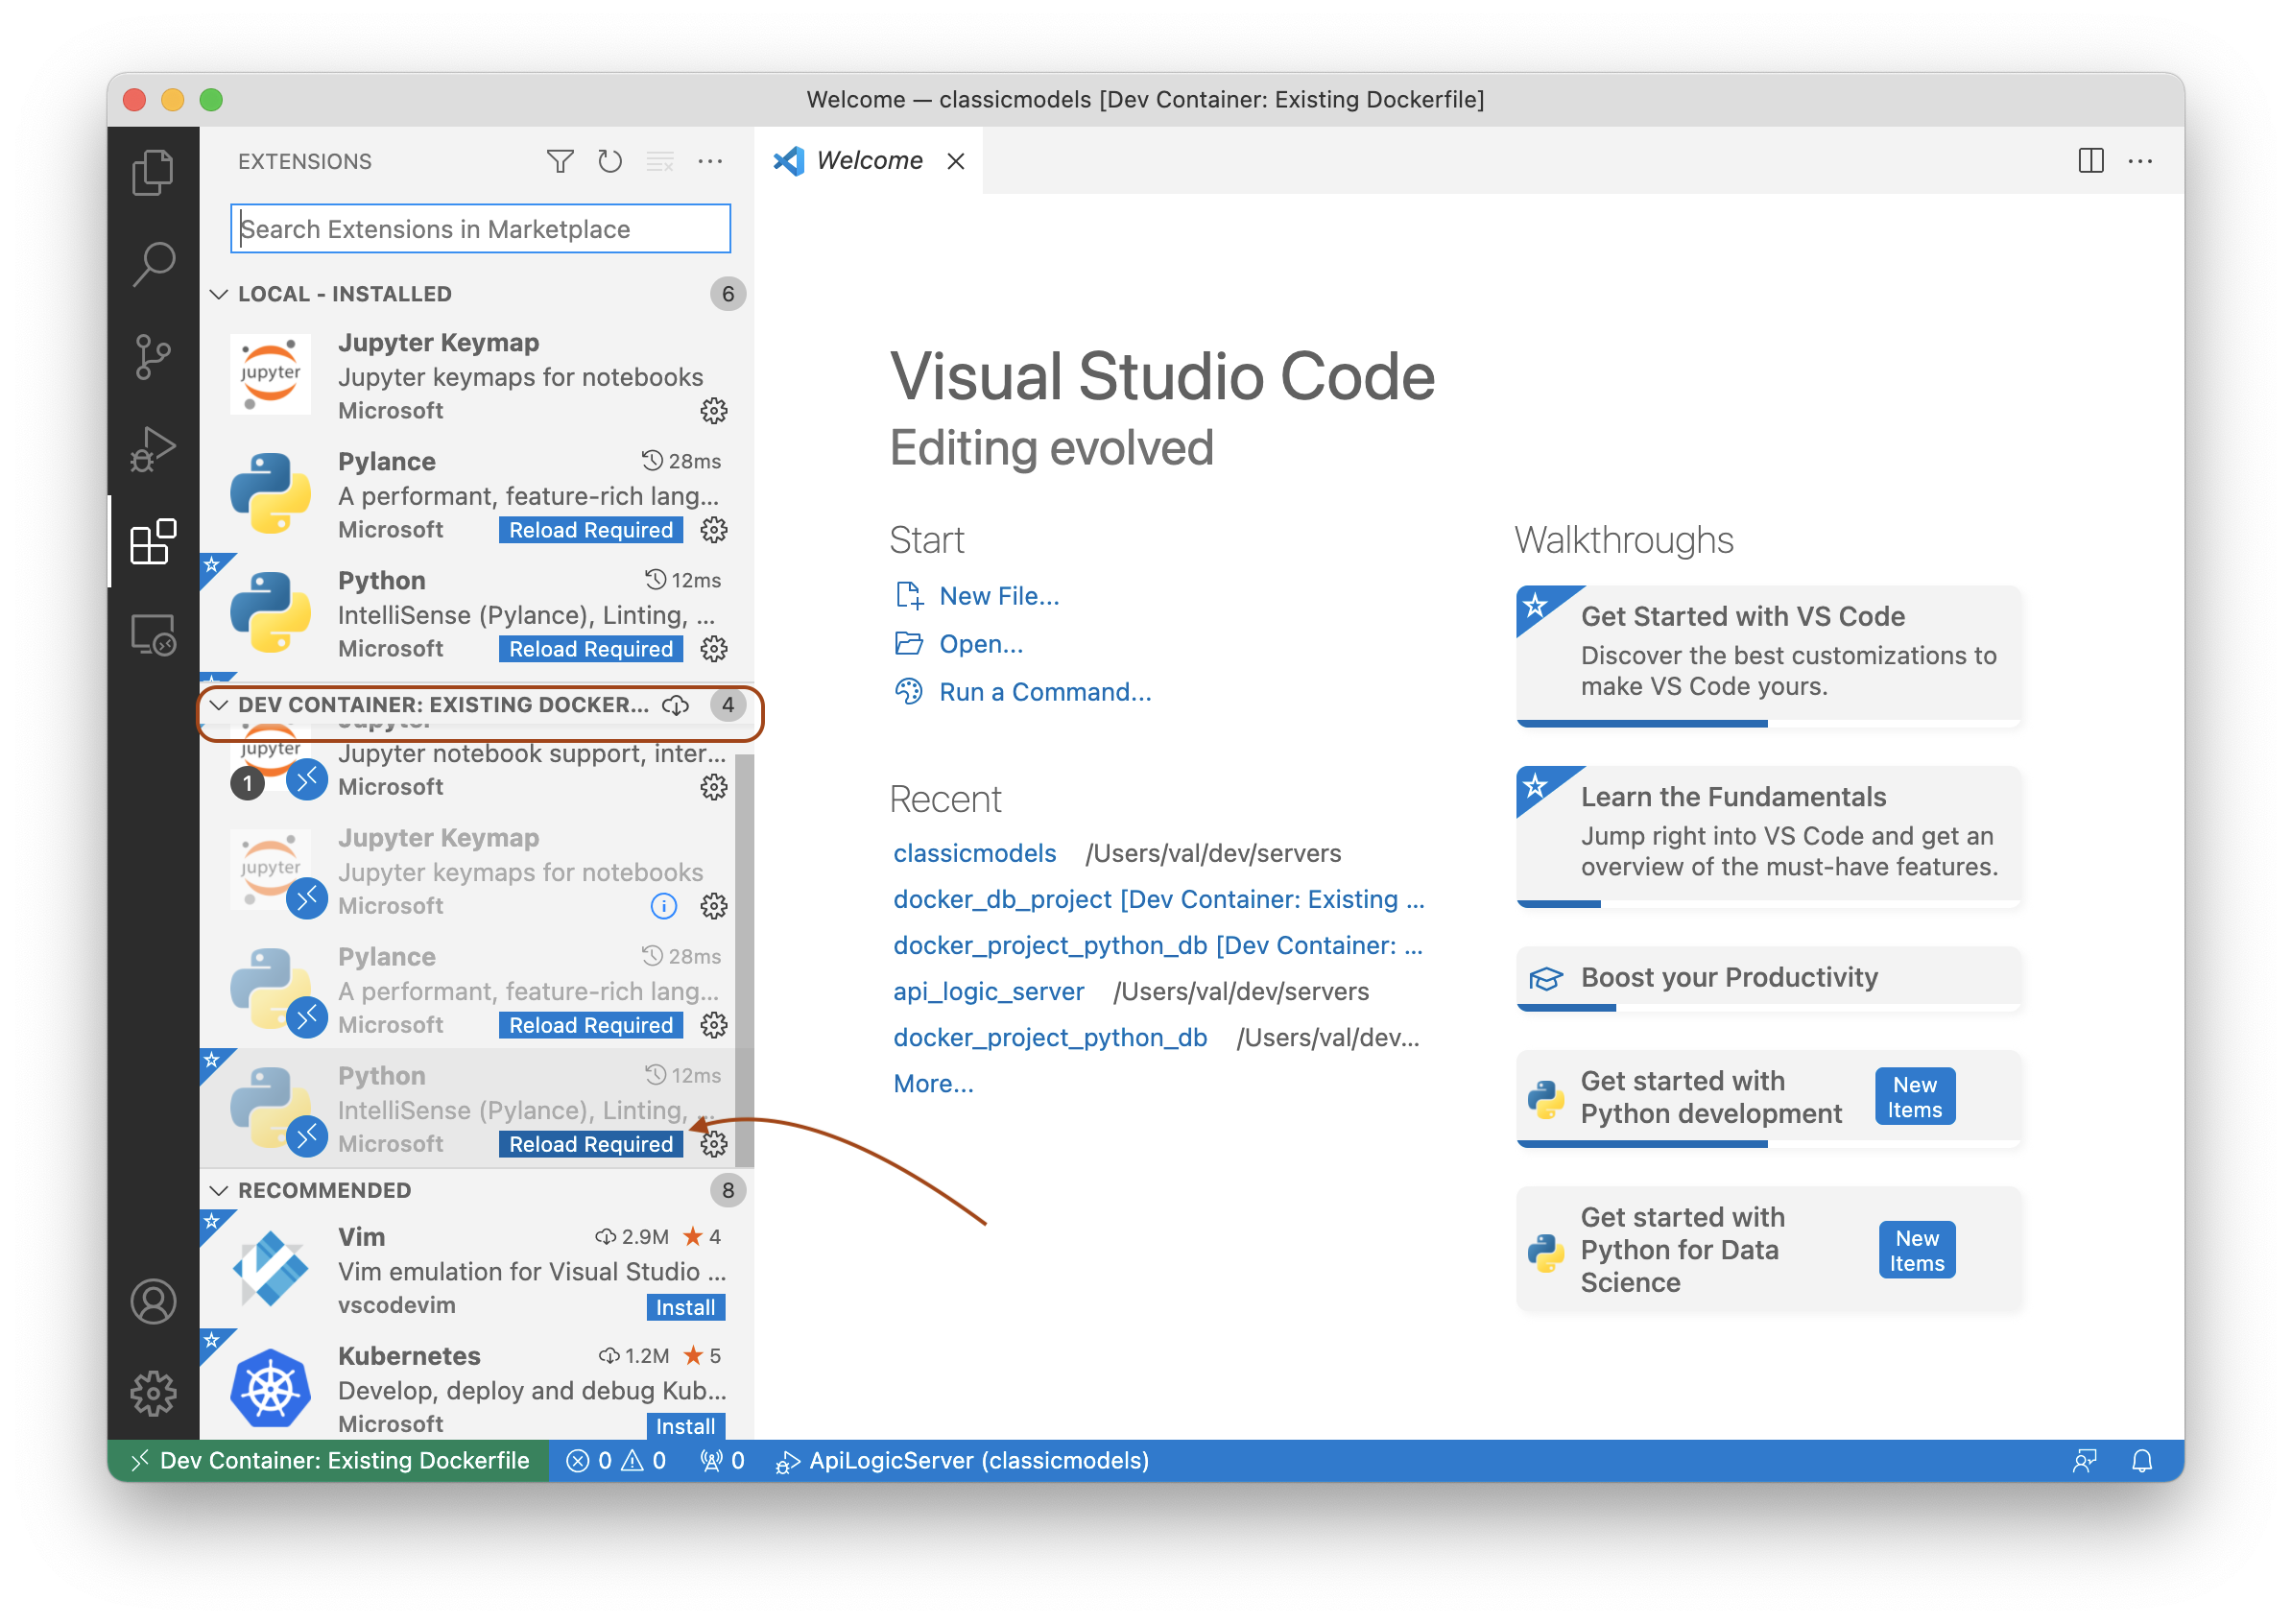
4. Install Python Extension
You may be prompted for this (recent versions of VSCode might auto-detect language support):
1. Load your docker project
You've aleady created your project like this:
cd ~/Desktop                # directory of API Logic Server projects on local host

# [Install and] Start the API Logic Server docker container
docker run -it --name api_logic_server --rm -p 5656:5656 -p 5002:5002 -v ${PWD}:/localhost apilogicserver/api_logic_server

# (Now inside the container)
ApiLogicServer create   # Return to accept default project name, db

exit  # exit container to localhost
Container-exit
Observe you exit the Docker container. We'll start VSCode locally below, where it will restart Docker as a Remote Container below. Local operation means your project files are accessed locally (not via /localhost), which enables local file operations such as git.
The project creation above has created a project on your local computer. You can open it in VSCode like this:
# start VS Code either as an application, or via the command line
# macOS users may require: https://code.visualstudio.com/docs/setup/mac
code ApiLogicProject  # loads VS Code; accept container suggestions, and press F5 to run (described below)
2. Remote Container - Accept
Created projects are pre-configured to support:
- launch configurations for running
ApiLogicServerand tests - Docker-based Python environments, per
.devcontainer
So, when you open the created project, VS Code recognizes that Docker configuration, and provides an option to Reopen the project in a remote container. Accept this option.
If you already skipped this option, no worries. Use View > Command Palette > Remote-Containers: Reopen in Container
Note: when you Execute your application (below), you may need to update your Docker container - see Working with Docker.
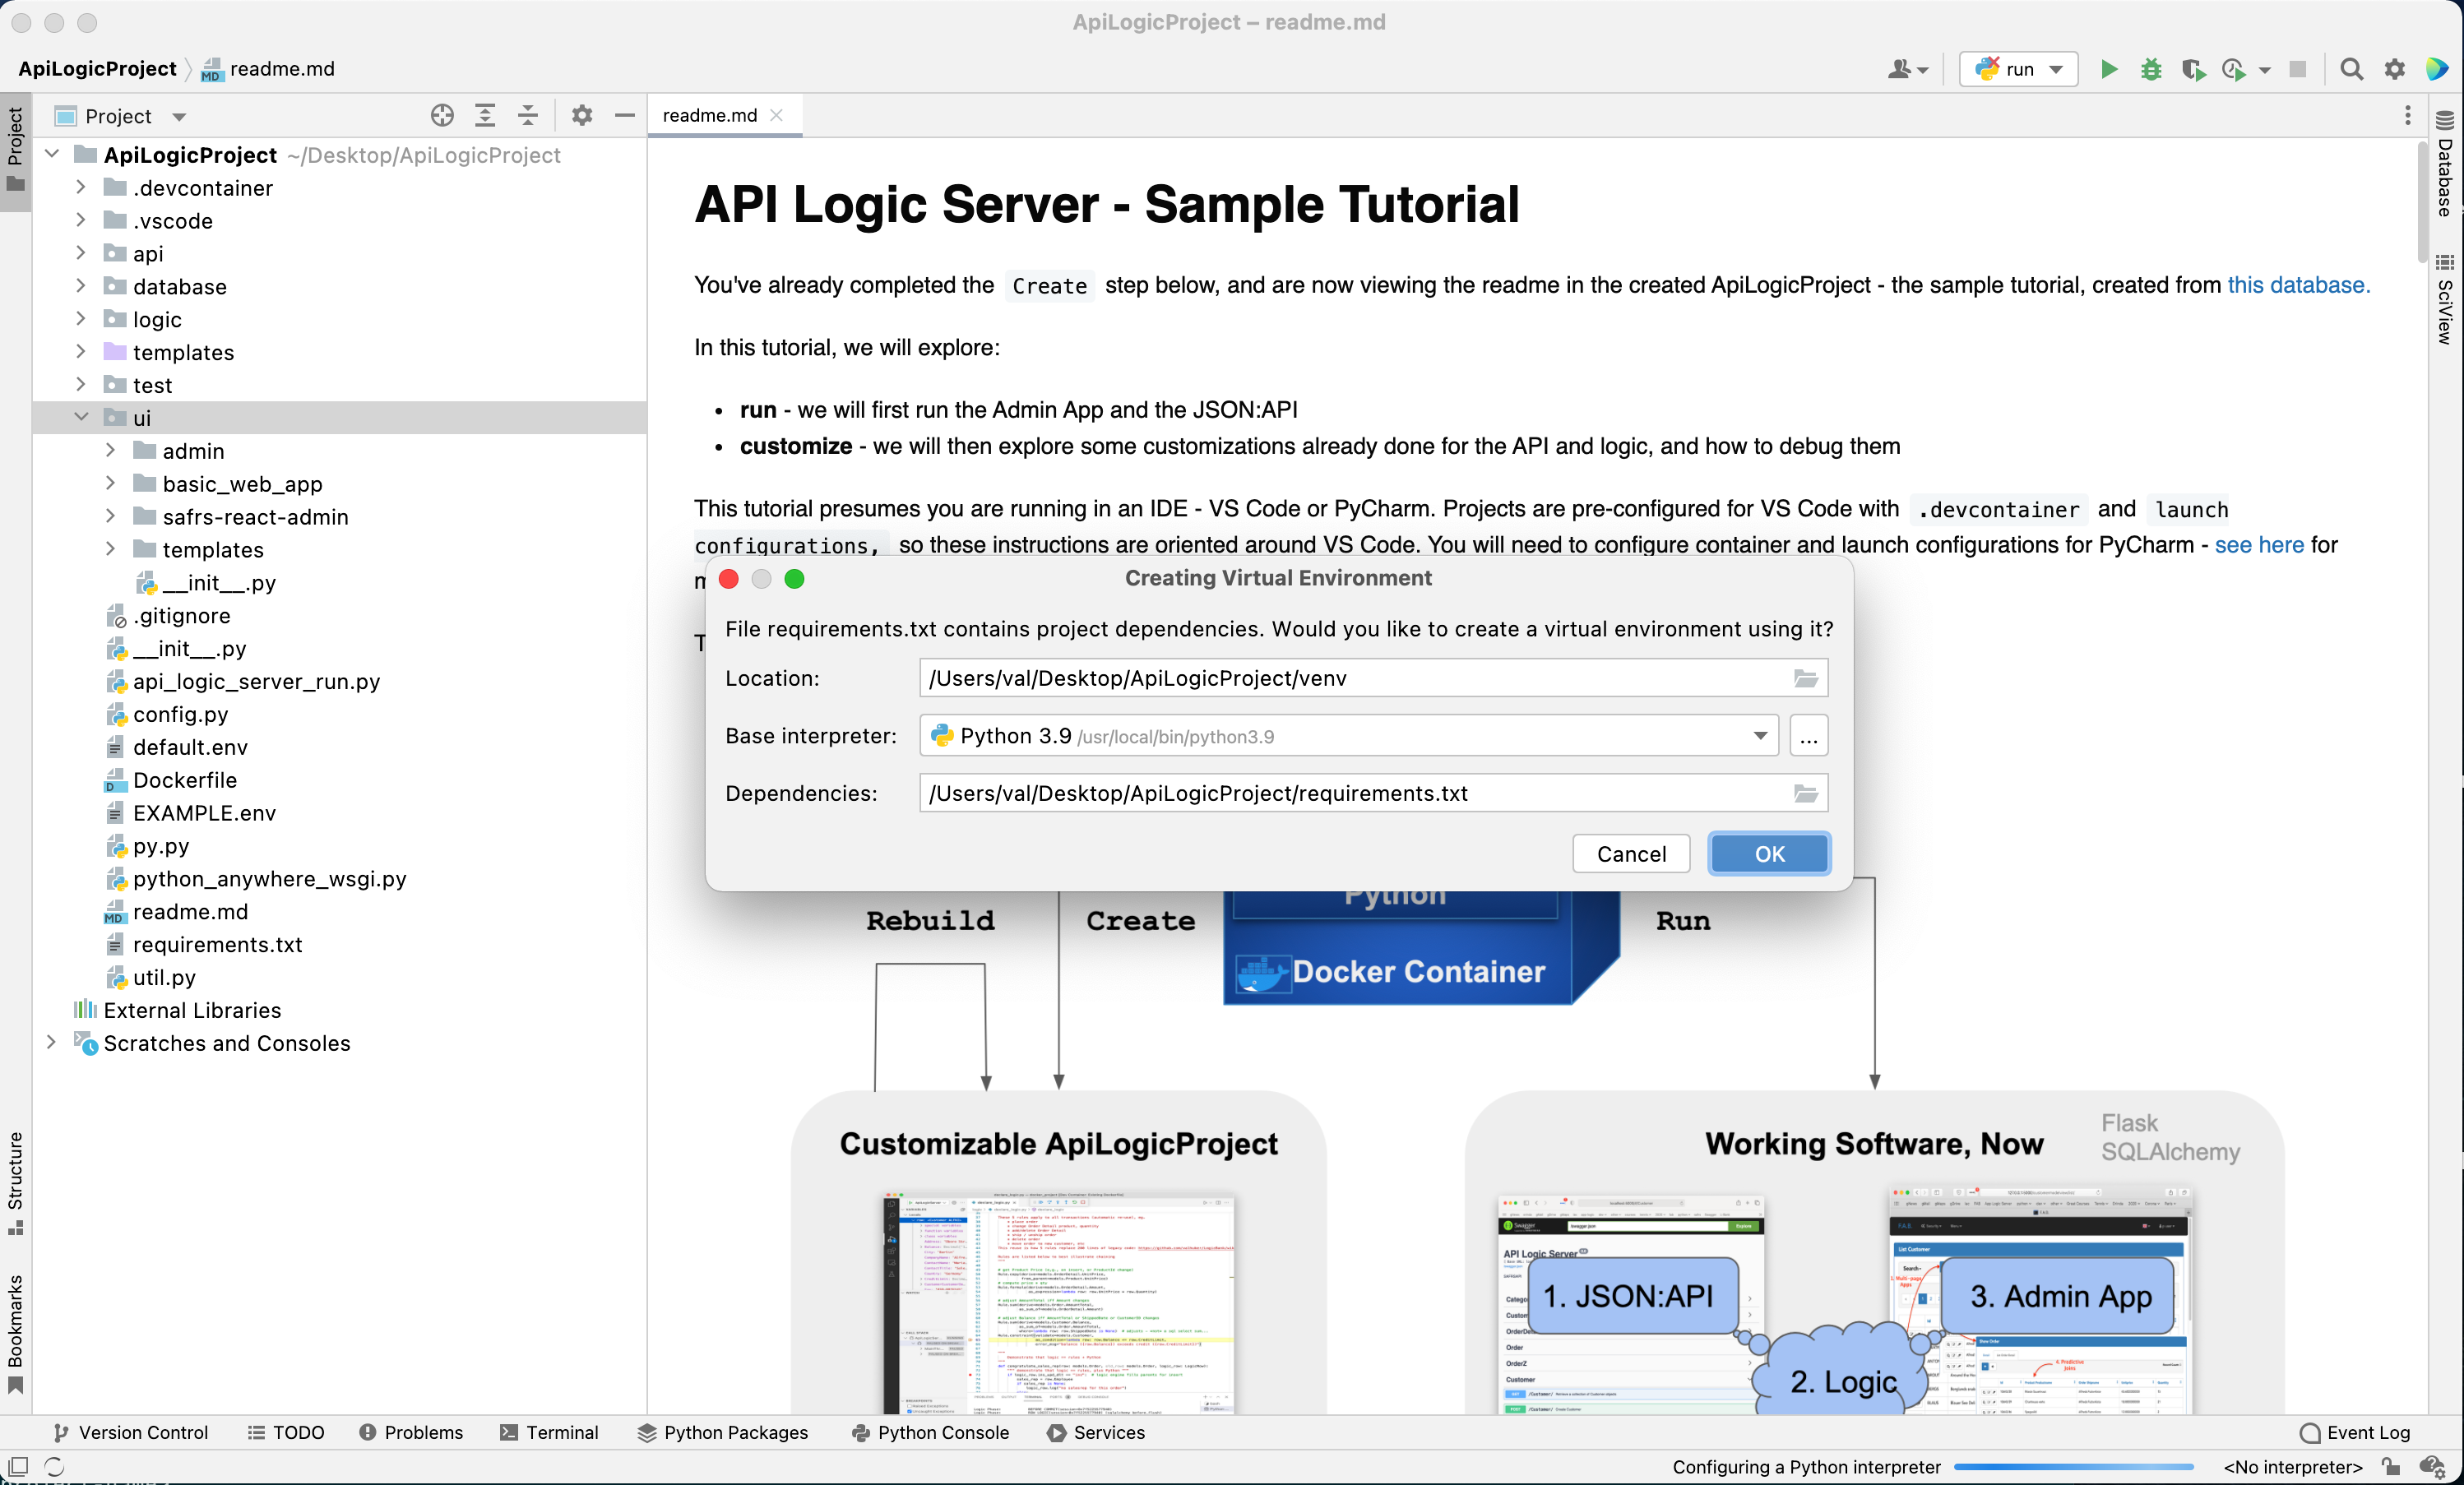
1. Do not create the venv outside PyCharm
2. Open the ApiLogic Project
3. Create a new Virtual Environment using PyCharm defaults
PyCharm will ask you to configure a Python Interpreter. Do so as shown below.
4. pip install
Some versions of Pycharm automatically load your dependencies, others do not. But it's simple to load them using the terminal window:
source venv/bin/activate                    # windows: venv\Scripts\activate
python -m pip install -r requirements.txt   # the requirements.txt file was pre-created by ApiLogicServer
The install sometimes fails due on machines with an older version of
pip. If you see a message suggesting you upgradepip, do so.
5. Run the pre-configured run launch configuration
Some versions of Pycharm may require that you update the Launch Configuration(s) to use your venv.
Execute - prebuilt Launch Configurations
Once you have established your Python environment, you are ready to run. The ApiLogicServer create command has built launch configurations, so you can start your server like this:
1. Click Run and Debug

2. Select Launch Configuation
Select the pre-built ApiLogicServer Launch Configuration (it should be the default).
- Use
Codespacesif you are running in that environment)
3. Click Green Run Button
Press the green run button to start the server.
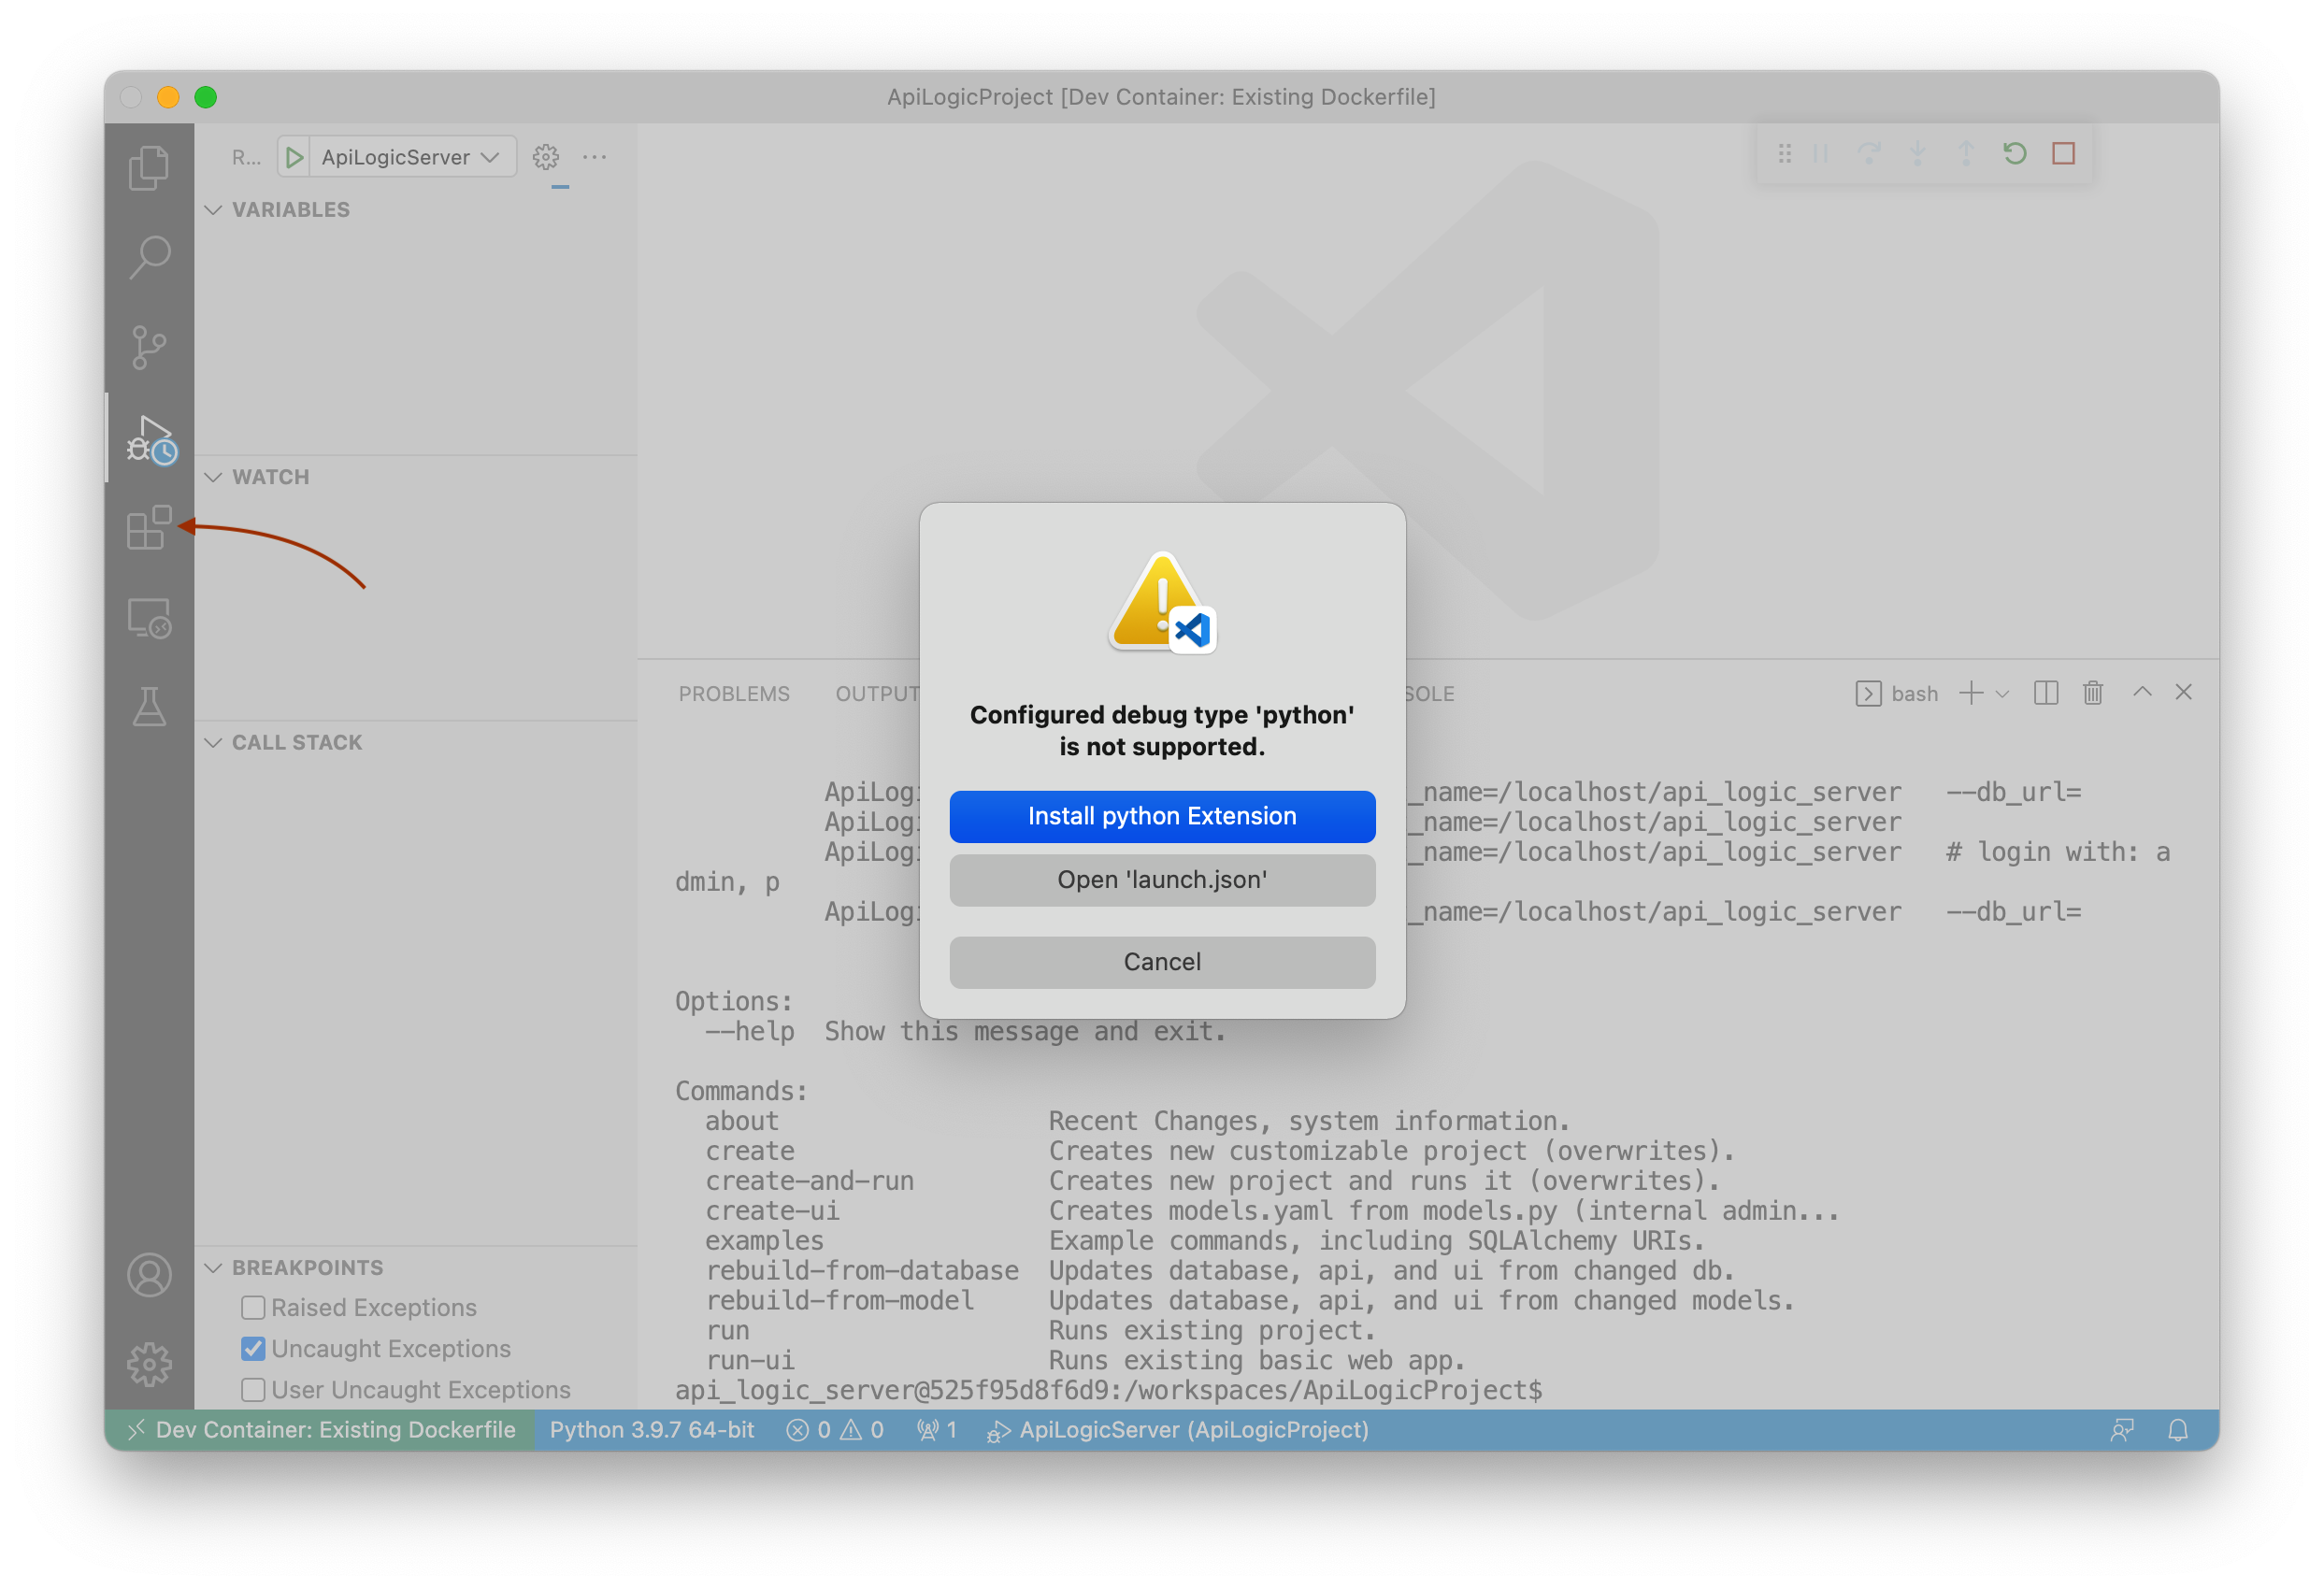
When you run, you may encounter the message below; if so:
- Click Extensions (as shown)
- Ensure Python support is installed and enabled
4. Start the Browser
- If you are running Docker / VS Code, VS Code will suggest opening a Browser, or previewing it in the Editor (i.e., in VSCode).
- Otherwise open a browser at http://localhost:5656
5. Proceed to the Tutorial
The Tutorial will walk you through the sample project.
Notes:
- Be aware that we have seen some issue where the simple browser fails to start; just use your normal browser
- We have also seen that some systems are slow to load caches on first execution; browser refresh can often be helpful
- You may get a message: "The Python path in your debug configuration is invalid." Open View > Command Pallet, type “Python Select Interpreter” and Select your
venv.
Other Launch Configurations
The ApiLogicServer create command also creates launch configurations for executing tests, and running the Behave Logic Report.